Printable HTV - Inkjet Printable Heat Transfer – Smashing Ink Vinyl
By A Mystery Man Writer
Last updated 14 May 2024
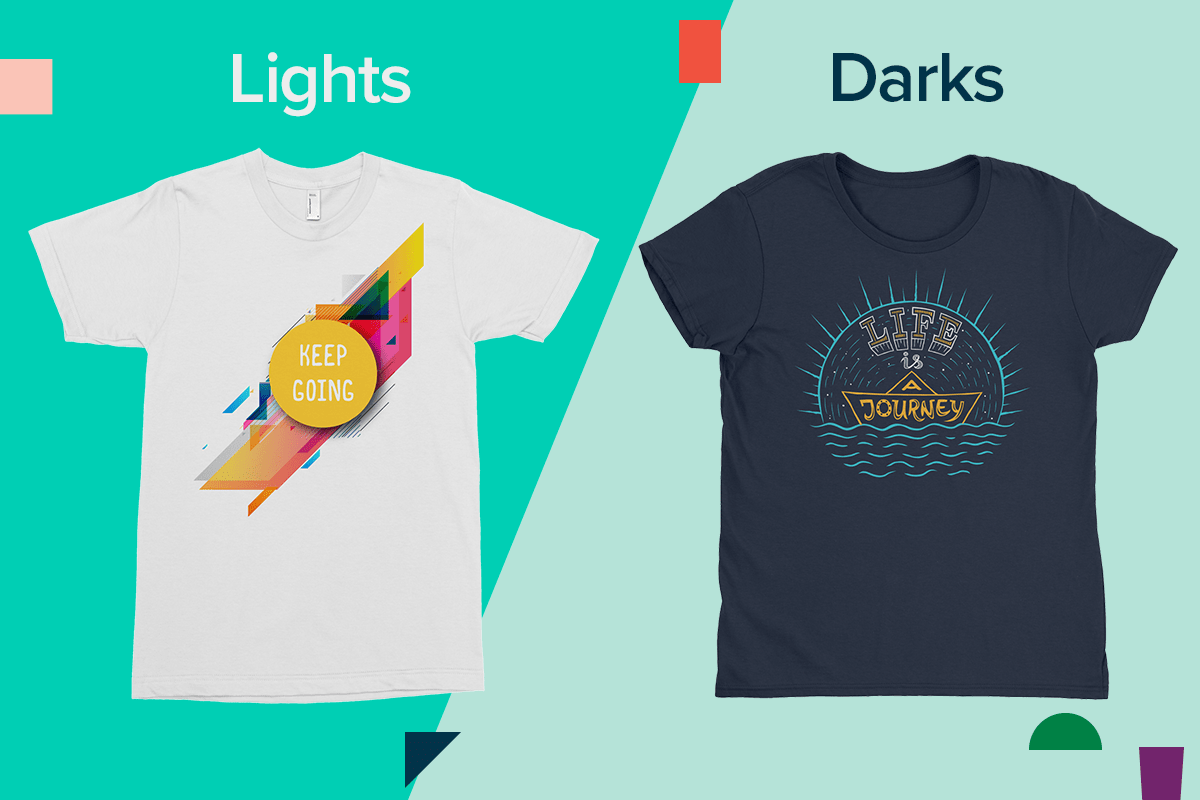
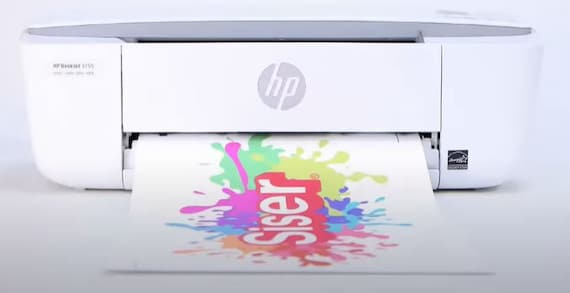
Inkjet Printable HTV for ANY color of fabric makes it easy to create your own printed image for application to any white or colored material. Our uniquely formulated transfer paper bonds with the fabric, leaving it soft, flexible and able to stretch with NO PEELING! Once applied, the transfer is FULLY washable. It’s ea
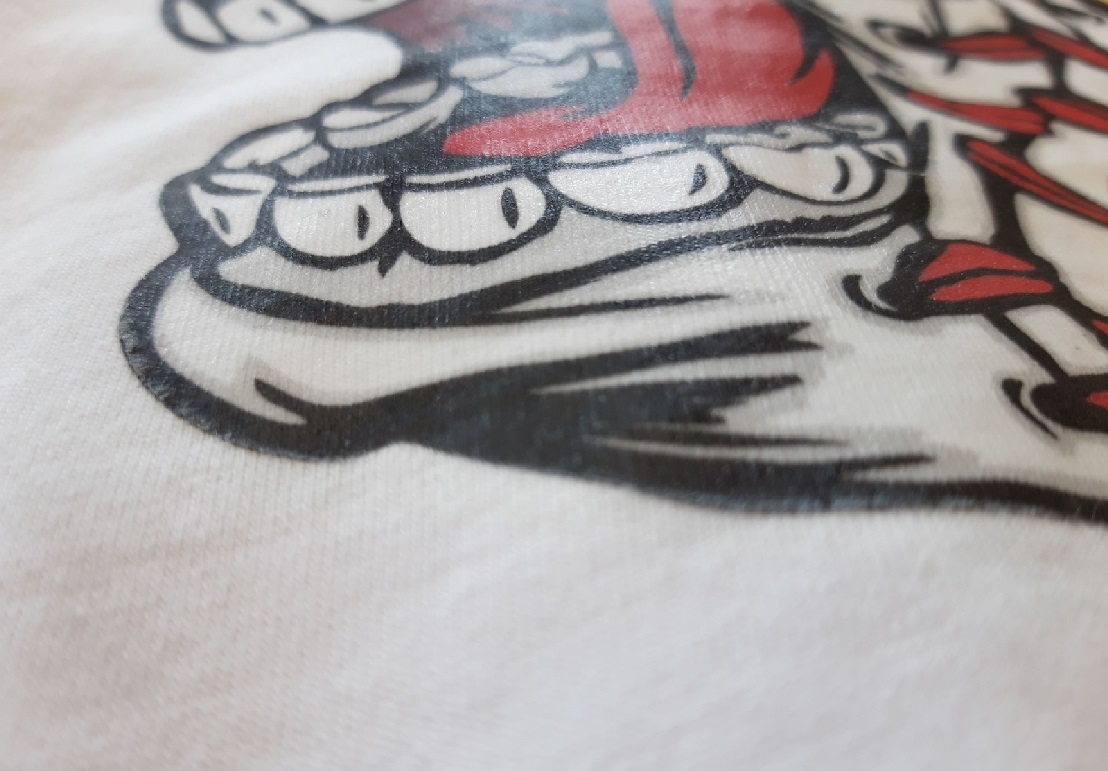
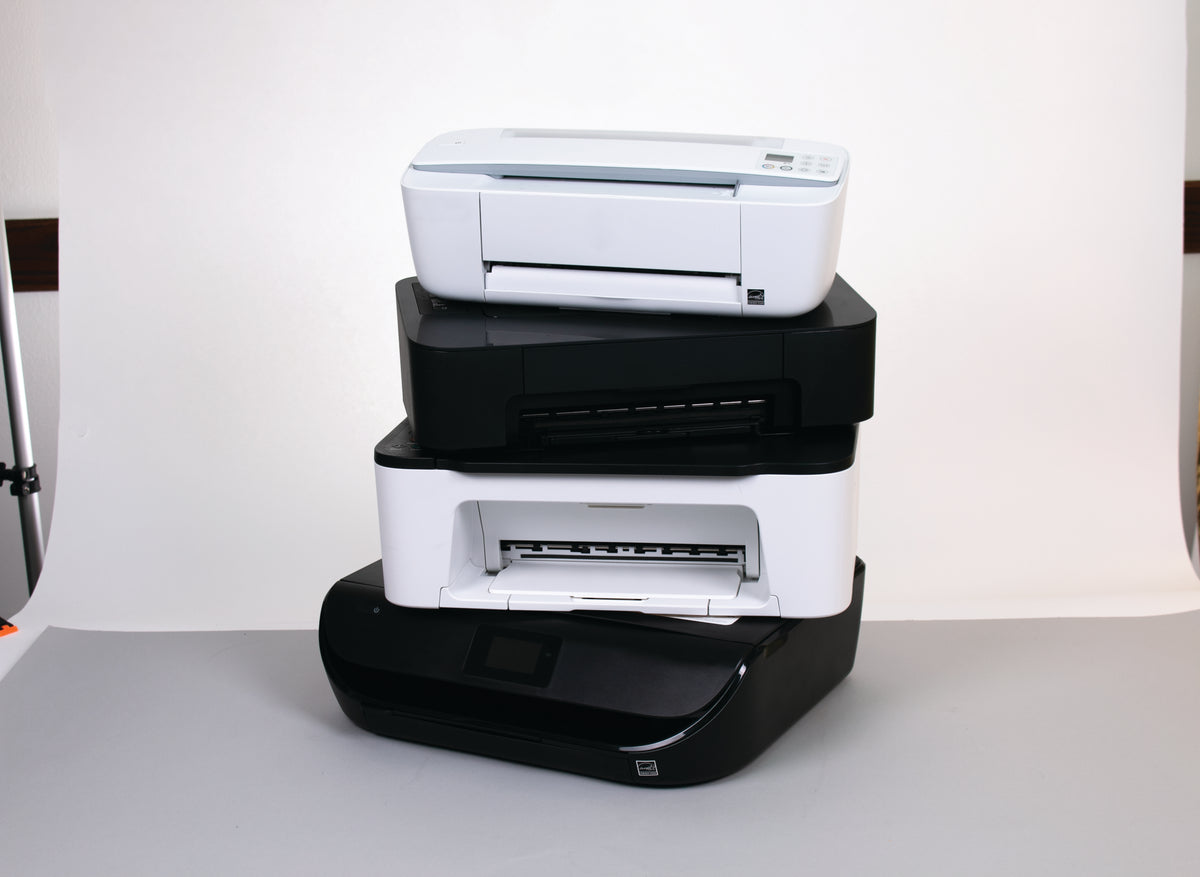
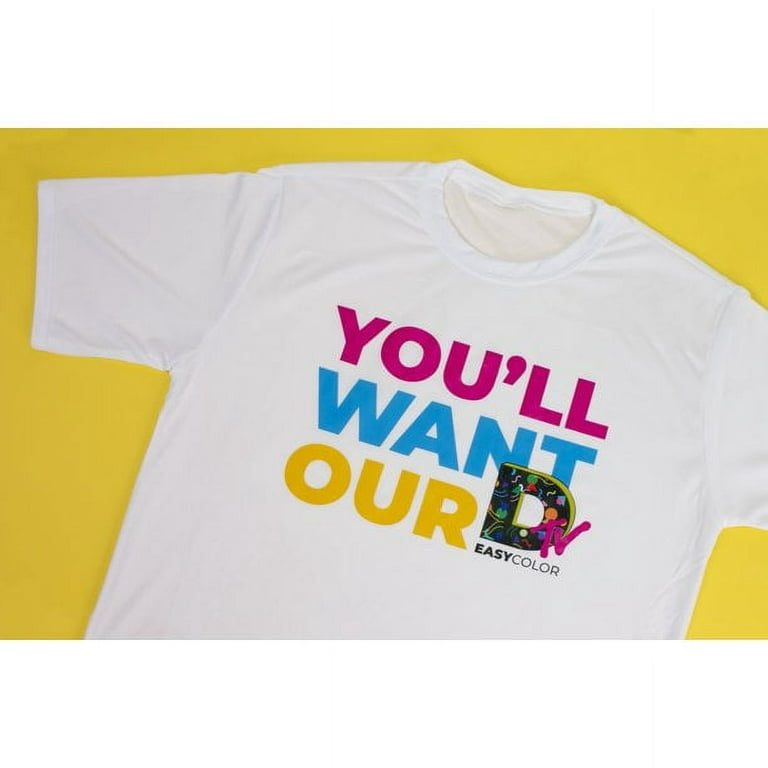
Inkjet Printable HTV for ANY color of fabric makes it easy to create your own printed image for application to any white or colored material. Our uniquely formulated transfer paper bonds with the fabric, leaving it soft, flexible and able to stretch with NO PEELING! Once applied, the transfer is FULLY washable. It’s easy to use for all your creative crafts at home with virtually any standard iron, or commercially using a professional heat press. Excellent photographic reproduction Great for kid’s crafts, family reunions, birthdays and anniversaries Customize your t-shirts, jackets, home decorations, just about anything Great for brand recognition or team identification Use it yourself or give as a great and creative gift Once applied, the transfer is FULLY washable and will stretch nicely without peeling Compatible with all inkjet printers INSTRUCTIONS Inkjet Printable HTV Instructions Supplies Before You Start: INKJET Printer (this won’t work with a laser printer) Printing Substrate (i.e. T-Shirt, Canvas, etc.) Iron or Heat Press Hard, Flat surface Parchment Paper Printing Set the paper type on your printer to “Normal Paper” Set the resolution to normal Feed single sheets into your printer. This paper CANNOT be multi-fed. DO NOT MIRROR your image! Print the image. Allow to dry for about 5 minutes before transferring. Preparation Make sure to trim ALL excess white areas from around and within your image (an electronic cutting machine like the Cameo and Cricut will make this part a breeze!) Prepare a FLAT, solid surface on which to iron…a countertop or sturdy table is great! Turn your iron/press on and allow your iron to heat up to full temperature for 4 minutes. *Make sure you have the steam setting turned off *REMEMBER – You will get the EXACT image on your shirt as you have on the vinyl, including the white background in between lettering and any white edges around your design! (Recommended) Application – Using a Heat Press Preheat your fabric for 3-5 seconds to remove any wrinkles and open up the fibers on your fabric. Peel off the grid-lined backing from your transfer. Place the transfer paper with the image printed FACE UP on to your fabric. Place the parchment paper onto the exposed image to protect the press’ platens from the ink. Press with high pressure for 12 seconds at 374°F/190°C Wait 1 minute for the transfer to cool before removing the parchment paper. Application – Using an Iron Iron your fabric for 30 seconds, or until it is nicely heated up and smooth of any wrinkles/creases Peel off the grid-lined backing from your transfer. Place the transfer paper with the image printed FACE UP on to your fabric. Place the parchment paper onto the exposed image to protect the iron from the ink. Start ironing your image. Make sure ALL AREAS of the image receive the same amount of heat by moving the iron constantly in SMALL CIRCLES and covering all the areas, especially the edges. Apply FIRM and CONSTANT PRESSURE to the Iron. (You can’t put too much pressure on the image – the more the better!) Iron for about 2 minutes. Once ironed, leave the image to cool for about 1 minute and then remove the parchment paper. The image should be securely adhered to the fabric. If there are any areas that have not adhered well, replace the parchment paper and iron for 1 more minute. Washing Wait 24 hours before washing Wash in a washing machine using the FULL SPIN CYCLE NOT SUITABLE FOR HAND WASHING or DELICATE CYCLE Hang dry Trouble Shooting Some of the image didn’t transfer. – Heat of the iron wasn’t high enough. Ensure the iron is on FULL temperature and that all of the areas of the image are ironed The image has not transferred at all and comes off of the fabric – Check that you have peeled off the backing paper that has the gird on it. The image has disappeared and there is only the white background visible. – You have placed the image face down on the garment. The image should be facing you and covered with parchment paper before ironing/pressing. Image Bleeding when Printing – Ensure that you have selected “Normal Paper” mode and the print quality is set to “Normal” or “Best”. If you still have bleeding, reduce ink saturation by 10-15%.
Inkjet Printable HTV for ANY color of fabric makes it easy to create your own printed image for application to any white or colored material. Our uniquely formulated transfer paper bonds with the fabric, leaving it soft, flexible and able to stretch with NO PEELING! Once applied, the transfer is FULLY washable. It’s easy to use for all your creative crafts at home with virtually any standard iron, or commercially using a professional heat press. Excellent photographic reproduction Great for kid’s crafts, family reunions, birthdays and anniversaries Customize your t-shirts, jackets, home decorations, just about anything Great for brand recognition or team identification Use it yourself or give as a great and creative gift Once applied, the transfer is FULLY washable and will stretch nicely without peeling Compatible with all inkjet printers INSTRUCTIONS Inkjet Printable HTV Instructions Supplies Before You Start: INKJET Printer (this won’t work with a laser printer) Printing Substrate (i.e. T-Shirt, Canvas, etc.) Iron or Heat Press Hard, Flat surface Parchment Paper Printing Set the paper type on your printer to “Normal Paper” Set the resolution to normal Feed single sheets into your printer. This paper CANNOT be multi-fed. DO NOT MIRROR your image! Print the image. Allow to dry for about 5 minutes before transferring. Preparation Make sure to trim ALL excess white areas from around and within your image (an electronic cutting machine like the Cameo and Cricut will make this part a breeze!) Prepare a FLAT, solid surface on which to iron…a countertop or sturdy table is great! Turn your iron/press on and allow your iron to heat up to full temperature for 4 minutes. *Make sure you have the steam setting turned off *REMEMBER – You will get the EXACT image on your shirt as you have on the vinyl, including the white background in between lettering and any white edges around your design! (Recommended) Application – Using a Heat Press Preheat your fabric for 3-5 seconds to remove any wrinkles and open up the fibers on your fabric. Peel off the grid-lined backing from your transfer. Place the transfer paper with the image printed FACE UP on to your fabric. Place the parchment paper onto the exposed image to protect the press’ platens from the ink. Press with high pressure for 12 seconds at 374°F/190°C Wait 1 minute for the transfer to cool before removing the parchment paper. Application – Using an Iron Iron your fabric for 30 seconds, or until it is nicely heated up and smooth of any wrinkles/creases Peel off the grid-lined backing from your transfer. Place the transfer paper with the image printed FACE UP on to your fabric. Place the parchment paper onto the exposed image to protect the iron from the ink. Start ironing your image. Make sure ALL AREAS of the image receive the same amount of heat by moving the iron constantly in SMALL CIRCLES and covering all the areas, especially the edges. Apply FIRM and CONSTANT PRESSURE to the Iron. (You can’t put too much pressure on the image – the more the better!) Iron for about 2 minutes. Once ironed, leave the image to cool for about 1 minute and then remove the parchment paper. The image should be securely adhered to the fabric. If there are any areas that have not adhered well, replace the parchment paper and iron for 1 more minute. Washing Wait 24 hours before washing Wash in a washing machine using the FULL SPIN CYCLE NOT SUITABLE FOR HAND WASHING or DELICATE CYCLE Hang dry Trouble Shooting Some of the image didn’t transfer. – Heat of the iron wasn’t high enough. Ensure the iron is on FULL temperature and that all of the areas of the image are ironed The image has not transferred at all and comes off of the fabric – Check that you have peeled off the backing paper that has the gird on it. The image has disappeared and there is only the white background visible. – You have placed the image face down on the garment. The image should be facing you and covered with parchment paper before ironing/pressing. Image Bleeding when Printing – Ensure that you have selected “Normal Paper” mode and the print quality is set to “Normal” or “Best”. If you still have bleeding, reduce ink saturation by 10-15%.
BFPRINT02 Heat Transfer Vinyl Printable
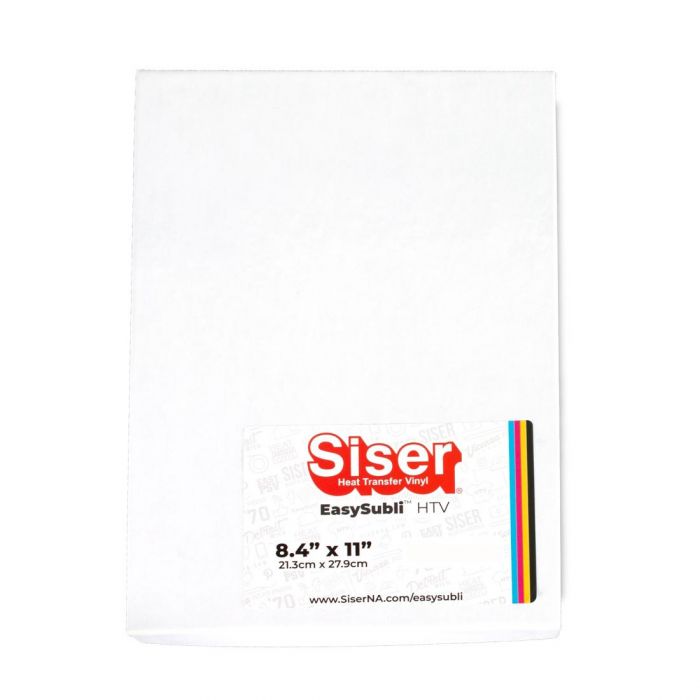
5 Pack 8.4 x 11 Siser Easysubli. Siser EasySubli is a heat transfer printable vinyl that allows users to print using their sublimation printer then

Siser EasySubli Sublimation Heat Transfer Vinyl 8.4 x 11 - 5 Pack

Great selection at great prices LUXURY VINYL W/ BACKGROUND

Printable HTV - Inkjet Printable Heat Transfer – Smashing Ink Vinyl

Printable HTV - Inkjet Printable Heat Transfer – Smashing Ink Vinyl

Printable HTV - Inkjet Printable Heat Transfer – Smashing Ink Vinyl
Fashion products Anushka Sharma is too hot to handle in an orange
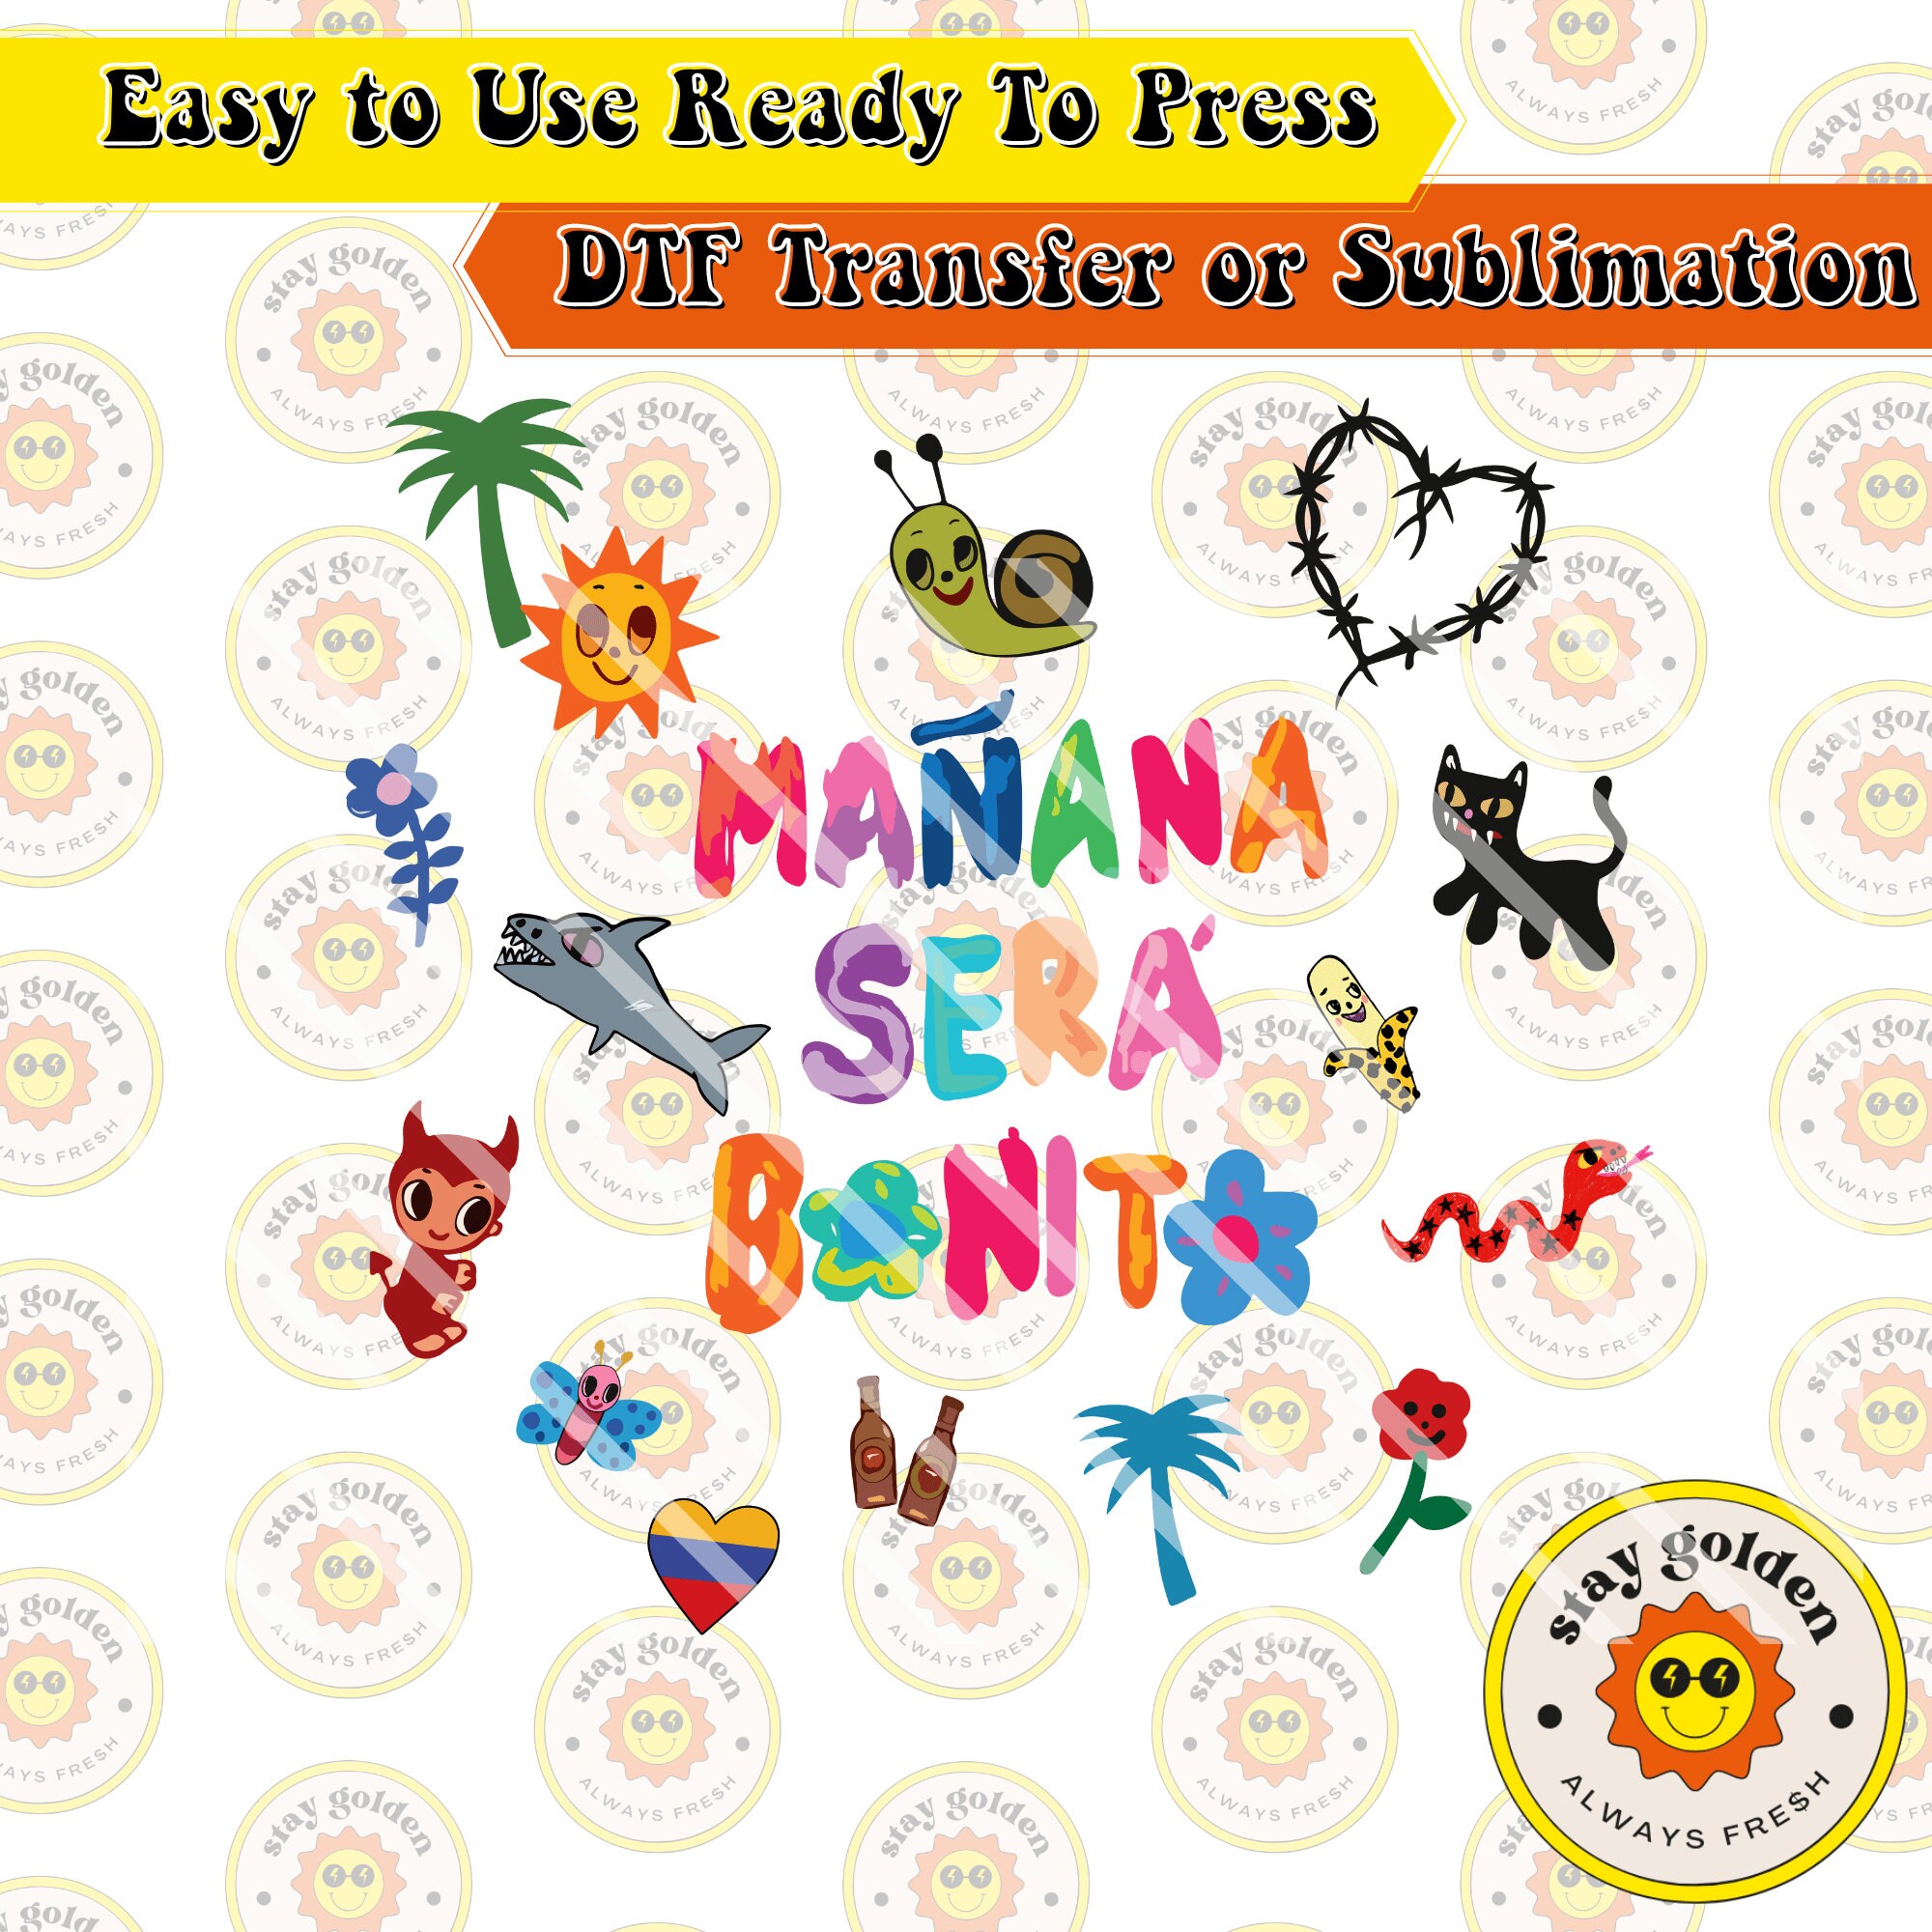
Absolutely Price to value KAROL G Ready to Press DTF BICHOTA Heat

Printable HTV - Inkjet Printable Heat Transfer – Smashing Ink Vinyl
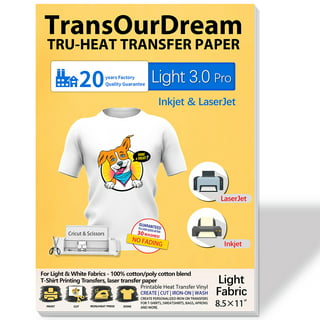
How to Choose the Best Heat Transfer Paper for Your Project
Smashing Ink Vinyl

Printable HTV - Inkjet Printable Heat Transfer – Smashing Ink Vinyl
Printable Vinyl Heat Transfer

Great selection at great prices LUXURY VINYL W/ BACKGROUND
Recommended for you
-
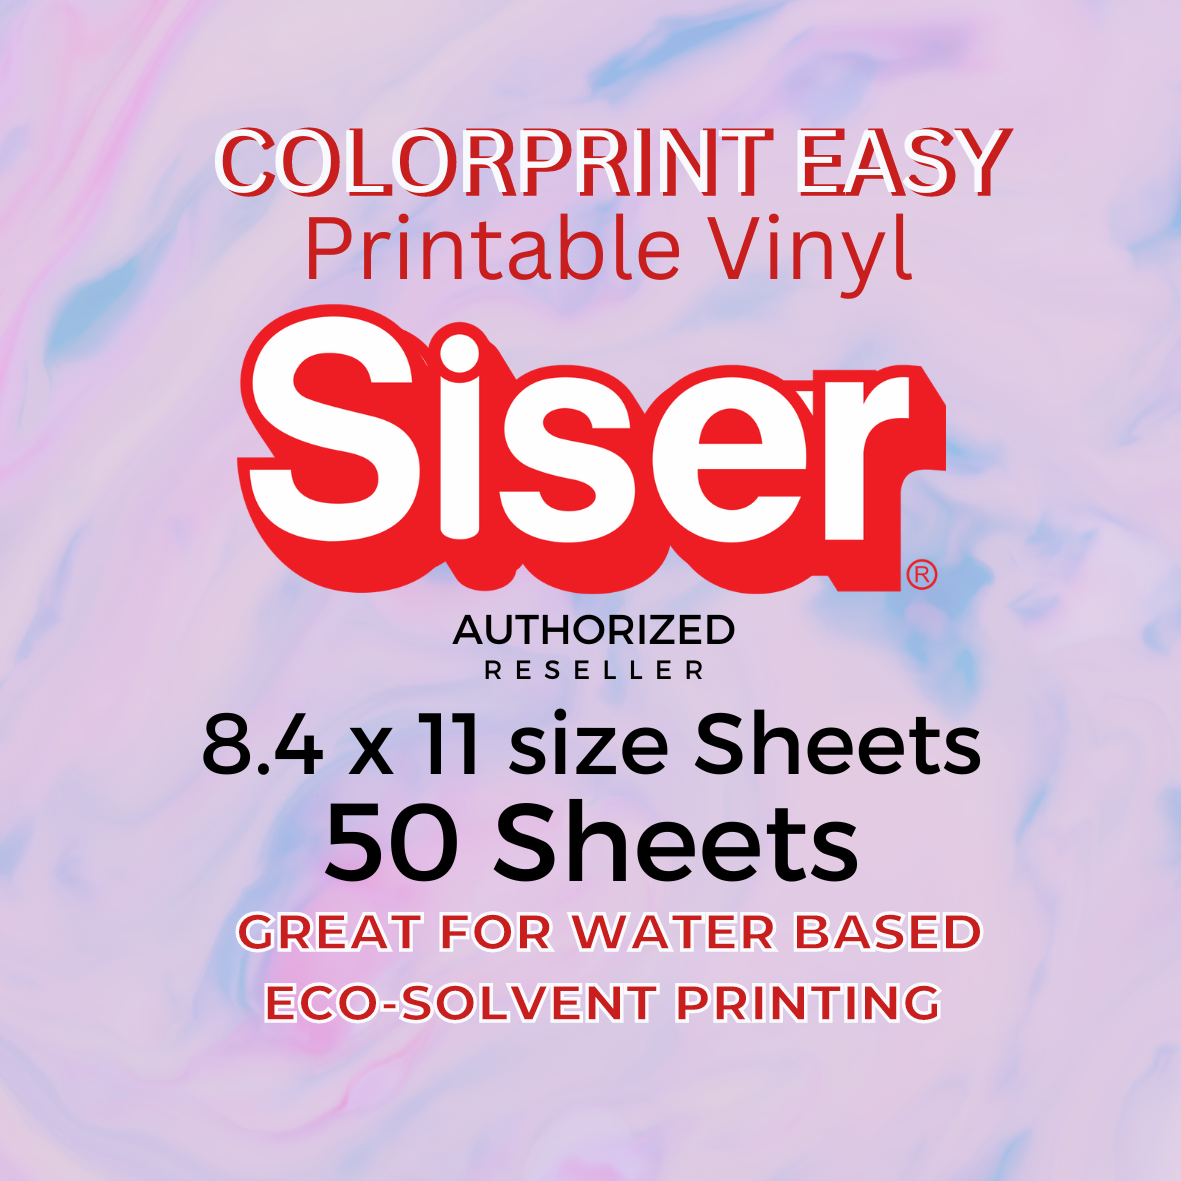 Siser ColorPrint Easy Pk of 50 8.4. x 11 Printable HTV sheets14 May 2024
 -
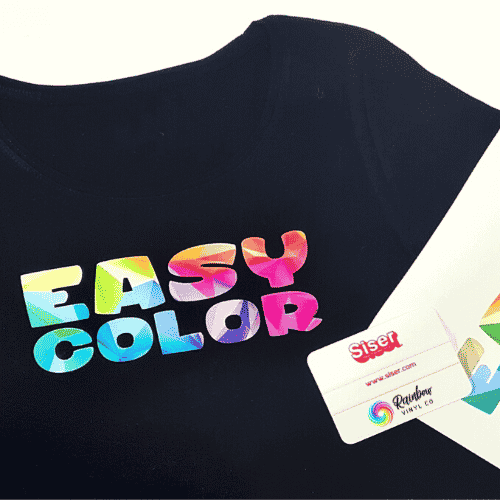 Siser EasyColour® DTV – Inkjet Printable HTV! - Rainbow Vinyl Co14 May 2024
 -
 Siser S-Print Print & Cut Heat Transfer Vinyl (HTV) - 20 x 75 ft14 May 2024
 -
 Siser EasySubli UHD Sublimation Ink for Sawgrass SG500/SG1000 (Black (K)) | Specialty Graphics Supply14 May 2024
 -
 Siser Easycolor DTV Sheets, Printable Inkjet Vinyl, Inkjet Printable Vinyl, Printable HTV Sheets14 May 2024
 -
 SISER- EASYCOLOR DTV ( Direct to Vinyl for INKJET) – Platinum Craft Vinyl14 May 2024
 -
 Siser EasySubli Heat Transfer Vinyl Sheets for Sublimation14 May 2024
 -
 Siser Easycolor DTV direct to Vinyl and Siser TTD Easy Mask 8.4 X 11 Sheets Inkjet Printer Compatible Heat Transfer Vinyl HTV14 May 2024
 -
 Siser EasyColor DTV Inkjet Printable Heat Transfer Craft Vinyl 8.4 x 11 - 50 Sheets14 May 2024
 -
 Siser Hi-5 Print Matte, Print and Cut Heat Transfer Material14 May 2024
You may also like
-
 Can two people have the same DNA? - BBC Science Focus Magazine14 May 2024
 -
 Dino Raptor Mask, Furry Dino, Rainbow Drip, Customizable Dino Mask14 May 2024
 -
 Paint and Sip Kits at Home & Video Lesson, Paint Party, Painting Kit, Sip and Paint, DIY Crafts, Paint By Number, Home Decor, Halloween Present, Halloween Paint Party14 May 2024
 -
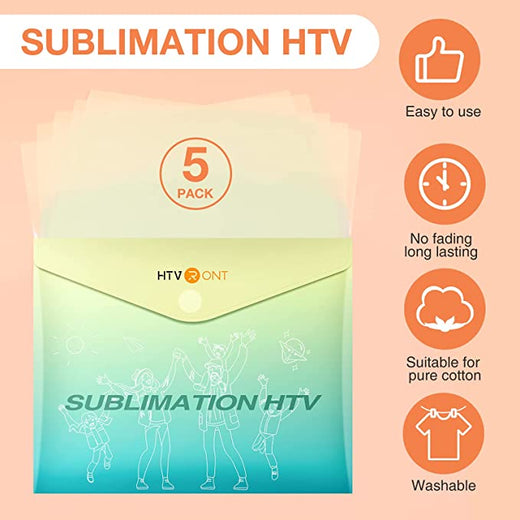 Clear HTV Vinyl for Sublimation - 12 x 10 5 Pack14 May 2024
 -
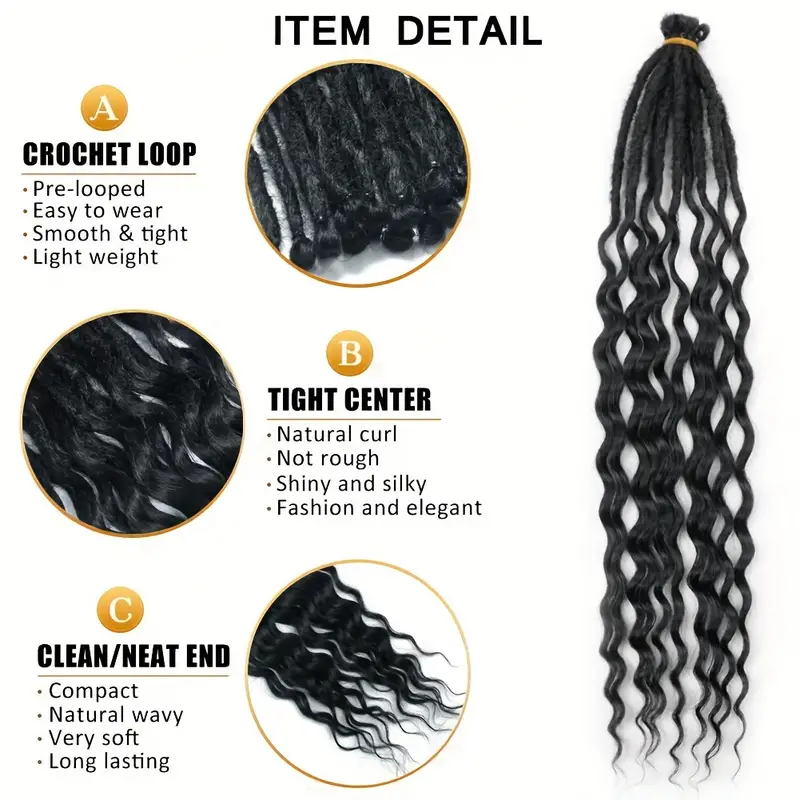 Dreadlock Hairpiece Passion Hair Water Wave Synthetic Braids - Temu14 May 2024
 -
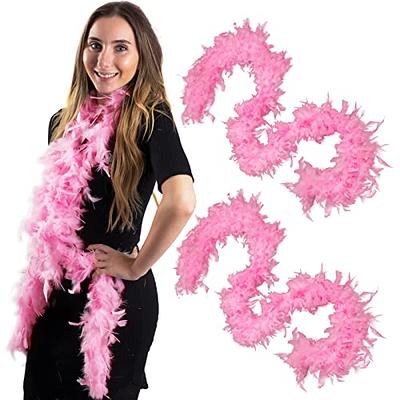 Tigerdoe Feather Boas - 2 Pack - Light Pink Marabou Boas, Party14 May 2024
 -
 1- High Quality 910mmx50M Corrugated Cardboard Roll In Melbourne14 May 2024
 -
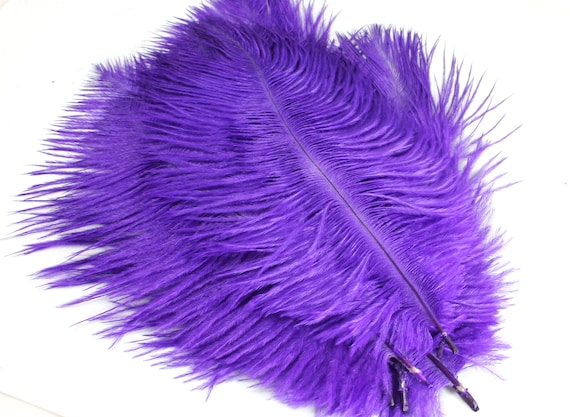 5-7 Inches Purple Ostrich Feathers. 5 Soft Fluffy Bird Decorations for Making Fans for Costumes. A Small Dyed Colored Plume for Masks14 May 2024
 -
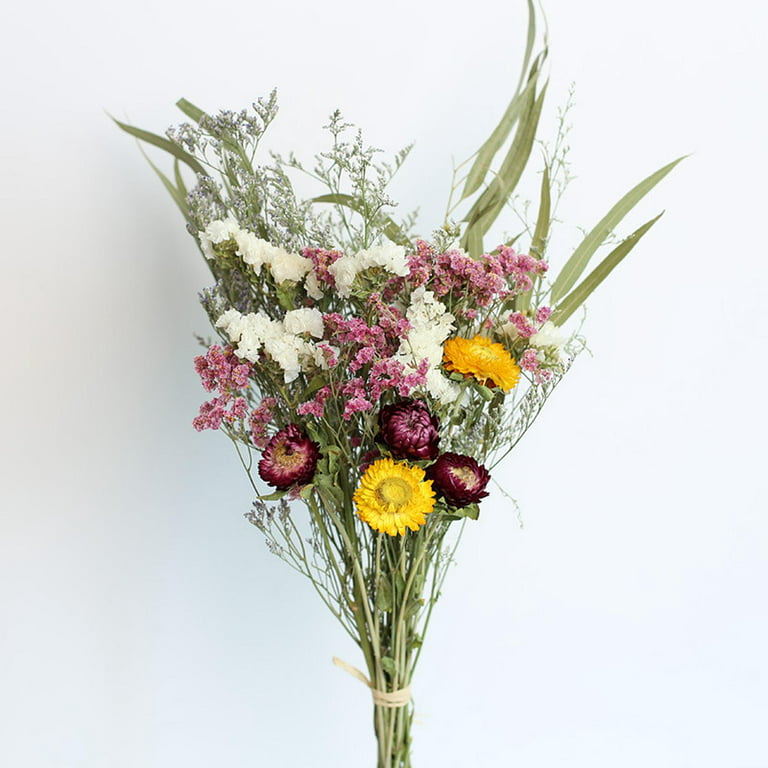 Stems Natural Dry Flowers Cotton Eucalyptus Daisy Decorative Dried Flowers Mini Floral Crafts Bouquet for Wedding - Sun Flower14 May 2024
 -
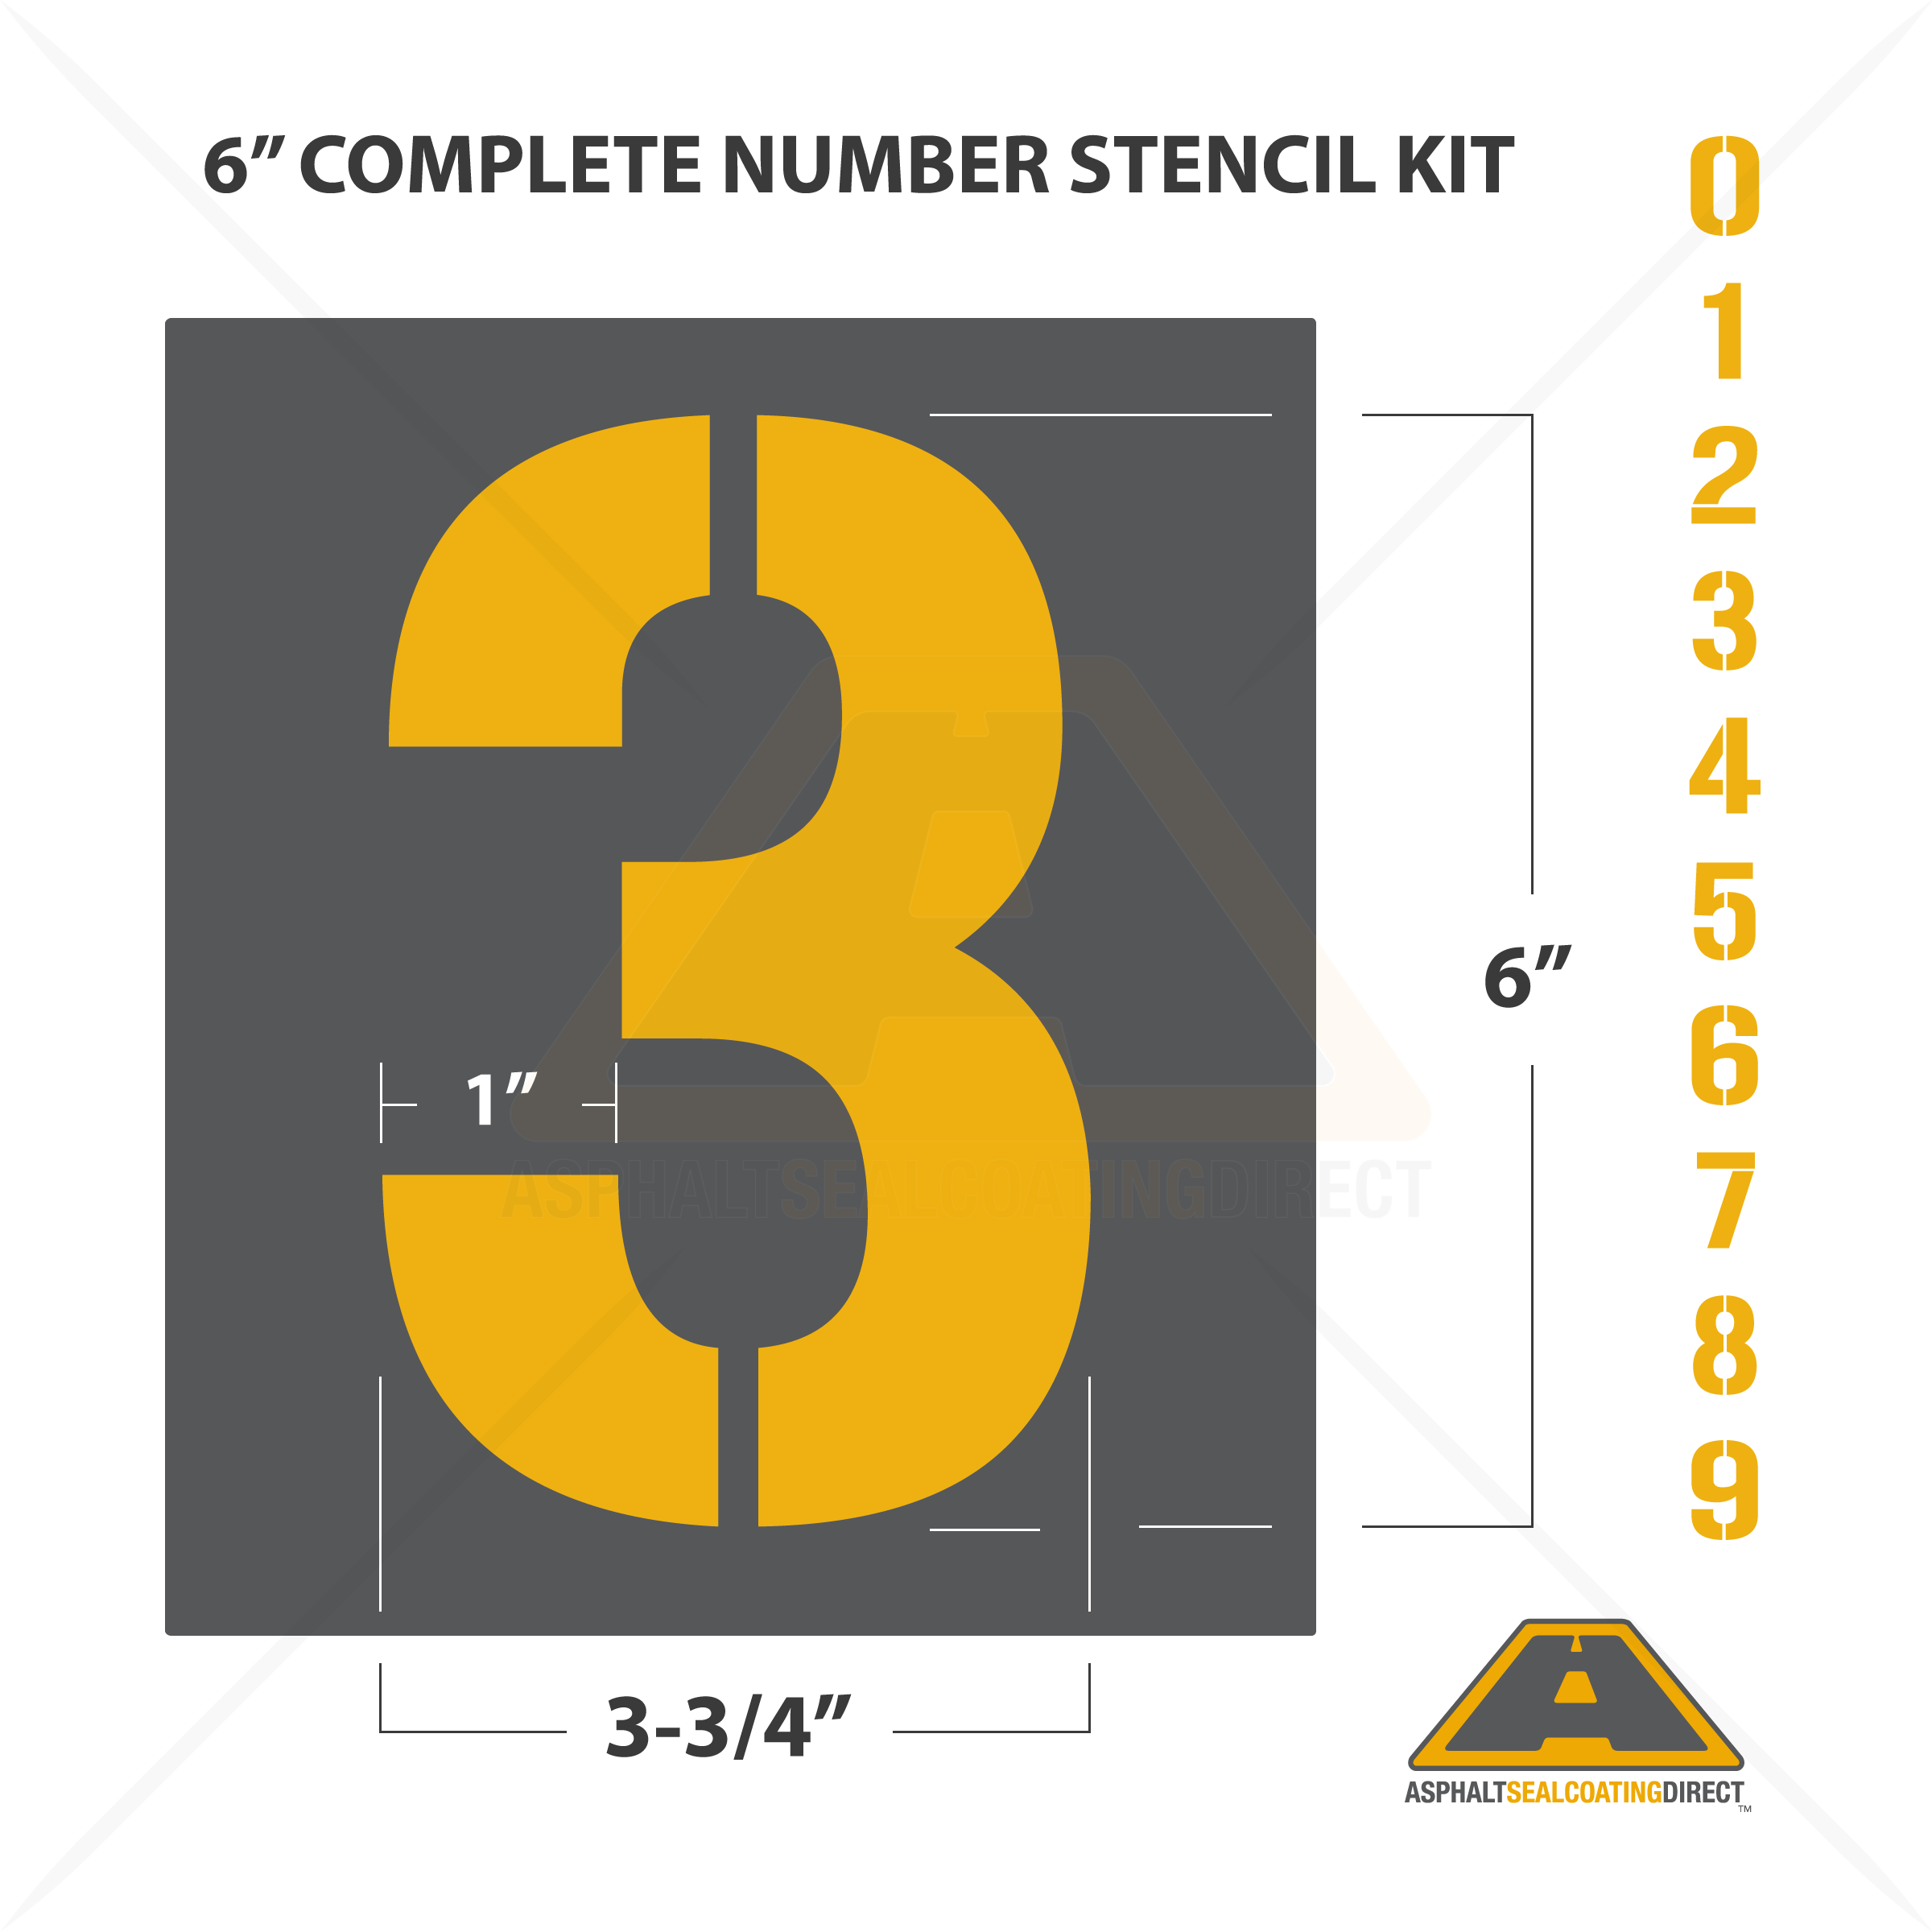 Number Parking Lot Stencils Kit For Sale14 May 2024